
Drywall Taping and Mudding: Common Problems to Avoid
A smooth drywall finish depends on proper taping, joint compound application and sanding. If these steps are rushed, bubbling tape, visible seams and uneven patches can affect the final appearance.
Drywall taping and mudding require patience and attention to detail. Understanding common finishing mistakes can help homeowners and renovation contractors recognize potential issues early and avoid unnecessary rework.
What Are Drywall Taping and Mudding?
Drywall taping and mudding are finishing processes used to cover the joints between drywall sheets and create a consistent surface.
Taping involves placing joint tape over the seams where panels meet. Mudding involves applying joint compound over the tape, fasteners and other areas that need smoothing. Additional coats are applied as needed to blend the joints into the surrounding wall or ceiling.
Once the compound has dried, the surface is sanded and inspected before primer and paint are applied. Each stage affects the finished result, so using the right materials and allowing sufficient drying time is important.
How Drywall Taping and Mudding Work, Step by Step
Understanding the basic process helps explain why certain finishing problems occur. Finishing begins once drywall installation is complete and the sheets are hung and secured.
Prepare the Surface
Before taping begins, check that the drywall sheets are properly secured and the joints are ready for finishing. Loose panels, damaged edges and protruding fasteners should be addressed before applying compound.
The surface should also be free from loose debris that could interfere with the finishing work.
Apply the Joint Tape
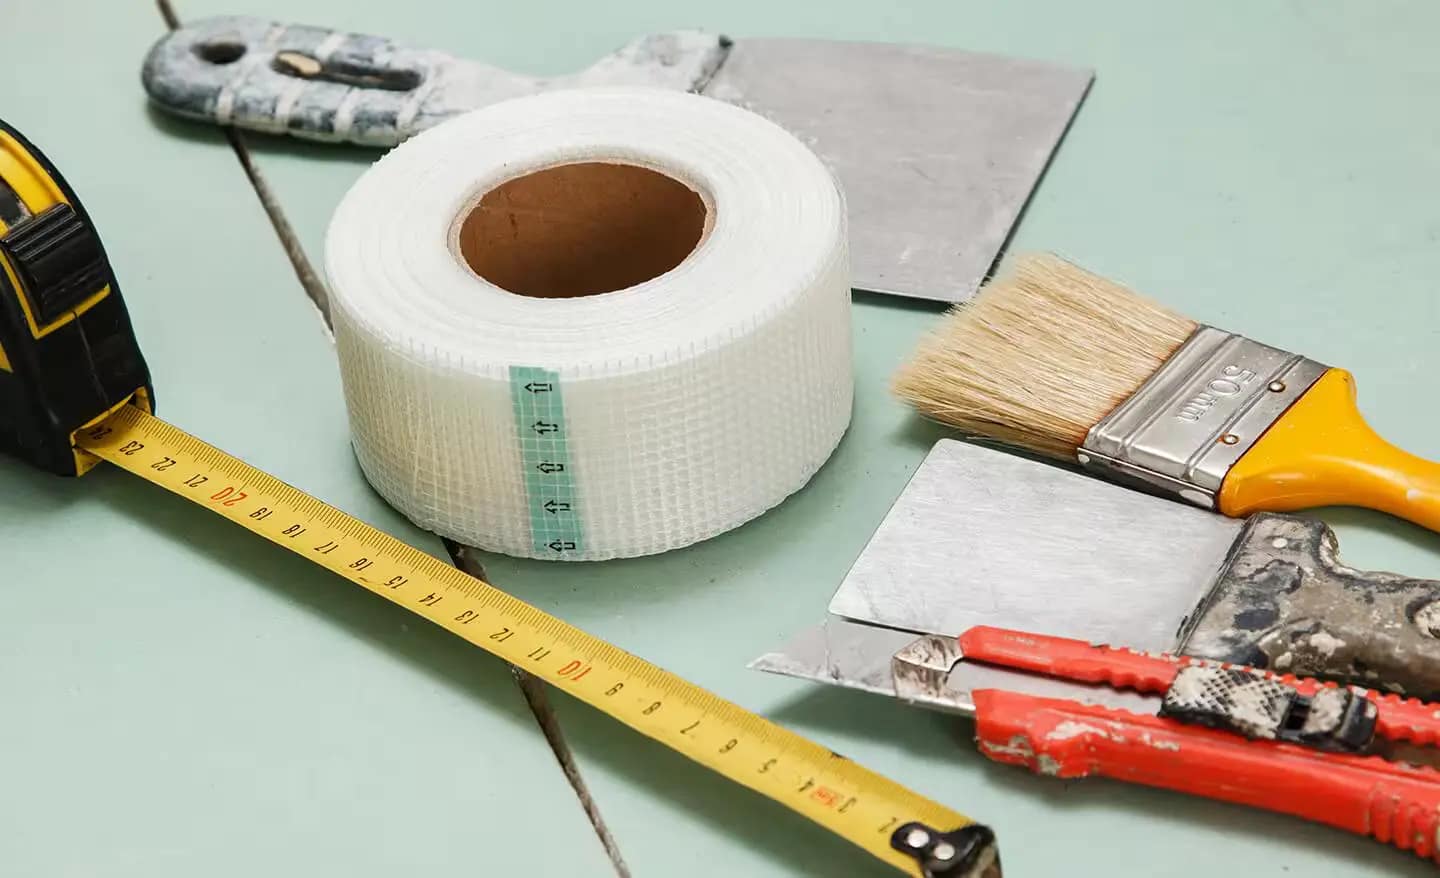
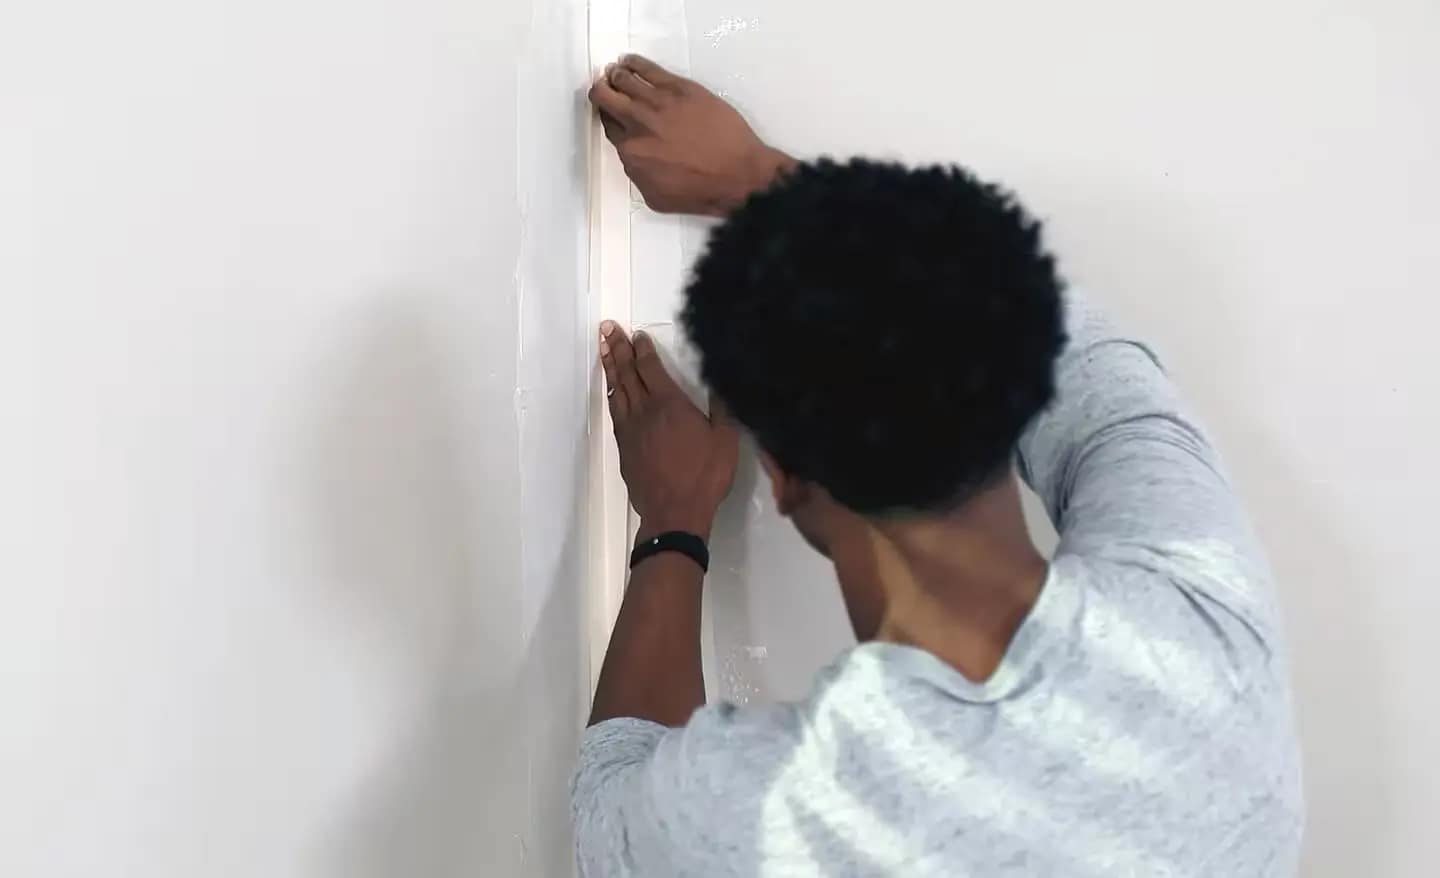
Joint tape covers the seams between drywall sheets and helps reinforce the joints. Paper tape is generally embedded in joint compound, while self adhesive mesh tape follows a different application method.
Using the correct technique for the selected product helps prevent poor bonding and loose sections.

Apply Joint Compound
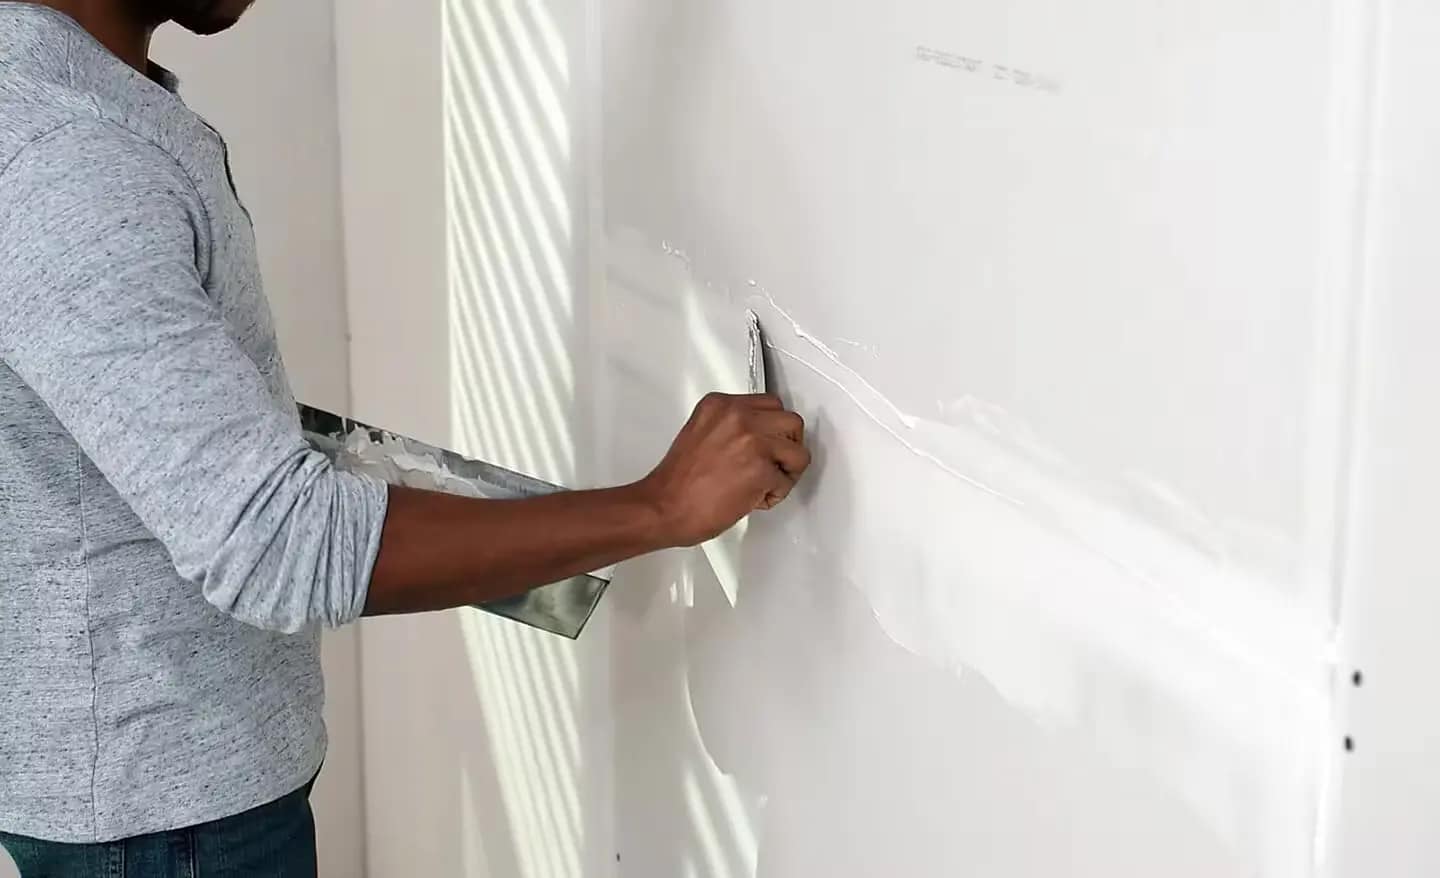
Spread joint compound over the taped joints according to the product instructions. Remove excess material carefully and avoid leaving thick ridges that will require unnecessary sanding.
Build Up the Finish
After each coat has dried as directed, apply additional compound to smooth the joint and blend its edges into the surrounding drywall. Several thin, controlled coats are generally easier to finish than one excessively thick application.
Sand and Inspect
Once the compound is ready for sanding, smooth raised areas without exposing the tape or creating depressions. Inspect the surface under suitable lighting before preparing it for primer and paint.
Common Drywall Taping and Mudding Problems
Most finishing defects trace back to a handful of causes. Each problem below explains what it looks like, why it happens and how to prevent it.
1. Bubbling or Loose Drywall Tape
Bubbles appear when sections of tape do not bond properly with the compound underneath. The tape may look raised, wrinkled or detached from the surface.
Common causes include insufficient compound beneath paper tape, trapped air or incorrect application. With self adhesive tape, poor surface preparation or improper installation can also affect adhesion.
How to prevent it: Follow the application instructions for the type of tape being used. For paper tape, apply enough compound to embed it properly and press it evenly into place. Avoid removing so much compound that the tape loses contact with the material beneath it.
If bubbles appear after drying, simply covering them with another coat may not fix the problem. The affected section may need to be removed and repaired.
2. Visible Seams After Painting
Drywall joints can become noticeable after painting, even when they appeared smooth during finishing. Raised edges, shallow depressions and insufficient feathering can make the seams stand out.
Light shining across a wall can highlight these imperfections, particularly near windows or under overhead lighting.
How to prevent it: Apply additional coats where needed and gradually blend the compound into the surrounding surface. Check the wall from different angles before priming, using suitable lighting to identify uneven areas.
Paint should not be relied on to hide poorly finished joints. Correcting surface defects before painting usually produces a more consistent appearance.
3. Cracks Along Drywall Joints
Cracks may develop where two drywall sheets meet. They can result from problems with the joint treatment, insufficient fastening or movement in the framing or surrounding structure.
The same repair will not necessarily solve every crack, especially when the problem keeps returning.
How to prevent it: Check that the drywall is properly secured before finishing begins. Use compatible tape and compound, and follow the recommended application process.
If cracks repeatedly return after repair, investigate the underlying cause rather than continuing to patch the surface. Persistent cracking may require a closer assessment of the surrounding assembly.
4. Uneven Joint Compound
Thick patches, raised edges and visible ridges can make the finished wall look uneven. These problems often occur when too much compound is applied in one area or the edges are not blended properly.
Excess material also increases sanding time and makes it harder to achieve a consistent finish.
How to prevent it: Apply manageable coats and spread the compound evenly across the joint. Feather the edges gradually so there is no abrupt transition between the finished joint and the surrounding drywall.
Inspect the surface after each coat has dried. Addressing raised areas early can reduce unnecessary work during final sanding.
5. Rough Surfaces and Sanding Marks
Sanding helps smooth dried compound, but aggressive or uneven sanding can leave scratches, rough patches and shallow depressions. Excessive sanding may also expose the tape.
Dust left behind can interfere with surface preparation before painting.
How to prevent it: Use suitable sanding materials and focus on raised areas rather than removing large amounts of compound. Inspect the surface regularly and stop when it is sufficiently smooth.
After sanding, remove dust using an appropriate method. If the tape becomes exposed or deep marks remain, additional finishing work may be necessary.
6. Shrinking or Cracking Compound
Joint compound can shrink as it dries. Depending on the product and application thickness, this may leave shallow depressions or small cracks that need another coat.
Applying material too thickly or failing to follow the recommended drying process can contribute to uneven results.
How to prevent it: Choose a compound suitable for the application and follow the manufacturer's instructions for thickness and drying time. Allow each coat to dry properly before continuing.
If cracks or depressions keep appearing, inspect the area to determine whether the issue is normal shrinkage or a separate problem that requires attention.
Common Mistakes to Avoid During Drywall Finishing
A few practical habits can help reduce problems during taping and mudding.
- Applying too much compound: Thick coats can be harder to smooth and may take longer to dry. Build up the finish gradually.
- Using the wrong tape application method: Follow the instructions for the specific paper or mesh tape being used.
- Rushing between coats: Allow sufficient drying time based on the product and site conditions.
- Sanding too aggressively: Remove raised areas carefully without damaging the tape or creating low spots.
- Skipping surface inspection: Check for bubbles, cracks, ridges and sanding marks before priming.
- Painting over unfinished areas: Correct visible defects and prepare the surface before applying primer and paint.
These steps help keep the finishing process controlled and reduce the chance of discovering avoidable defects after painting. Looking through completed renovation projects also shows how a well finished joint looks once the paint is on.
How to Check Whether Drywall Is Ready for Painting
Before painting begins, inspect the entire surface rather than checking only the most visible joints. Look for raised edges, loose tape, shallow depressions, cracks and rough patches. Pay attention to corners and areas around fasteners.
Lighting from the side can reveal imperfections that are difficult to see when looking directly at the wall. Check the surface from more than one angle and correct noticeable defects before proceeding.
Make sure the compound has dried according to the manufacturer's instructions. Remove sanding dust and prepare the surface as recommended by the primer manufacturer.
A careful inspection at this stage can reduce the need for touch ups after painting, especially in a home renovation where freshly finished walls set the look of every room.
When Should You Contact a Drywall Professional?
Some minor finishing defects can be corrected during normal drywall work. Other problems may require professional assessment, particularly when they affect large areas or repeatedly return.
Consider professional help if:
- Joint tape continues to bubble or separate.
- Cracks return after repeated repairs.
- Large areas have uneven seams or visible ridges.
- The drywall feels soft or shows signs of moisture damage.
- Cracks may be connected to movement in the framing or surrounding structure.
A professional drywall contractor can assess the affected area and recommend suitable repairs. Identifying the underlying cause is important because repeated surface patching may not provide a lasting solution. On larger projects, a general contractor can also coordinate the drywall with the other trades involved.
Frequently Asked Questions
These are finishing processes used to cover drywall joints. Tape reinforces the seams between panels, while joint compound covers the tape and helps create a smooth surface for painting.
For standard drywall joints, tape is generally applied as part of the joint finishing process before the compound is built up over the seam. The precise method depends on the tape and compound being used.
Bubbles can develop when the tape does not bond properly with the compound. Insufficient compound beneath the tape, trapped air or incorrect application may contribute to the problem.
Drying time depends on the compound, application thickness, temperature, humidity and ventilation. Follow the manufacturer's instructions rather than assuming every coat will dry at the same speed.
The number of coats depends on the joint, the products used and the required finish. Multiple coats are commonly used to cover the tape, smooth the joint and blend it into the surrounding surface.
Yes. When damage is limited to a joint, the affected section can often be repaired without replacing the entire wall. Recurring cracks or signs of movement should be assessed before refinishing.
Achieve a Consistent Drywall Finish
Proper taping and mudding help create walls and ceilings that are ready for paint and other finishes. Careful preparation, correct tape application, suitable drying time and thorough inspection can help prevent common finishing problems.
If you are planning an interior renovation or need assistance with drywall work, the team at Any & All Construction can help. Share the details of your project to request a free estimate.